Overview
This page describes BYOC creation in Self-managed infrastructure mode. With Self-managed BYOC, you manage and provision your AWS infrastructure using our terraform module, which you can audit and run on your infrastructure. This version requires Grid to have minimal permissions to your AWS account (only access to created EKS cluster & S3 bucket).
Deploying Self-Managed Bring Your Own Cluster (BYOC) Mode
note
To request access to this feature send an email to support@grid.ai with the subject "Request Access to BYOC Feature".
Amazon Web Services (AWS)
Requirements
Grid creates clusters designed for large AI workloads. However, the product is versatile and can handle other workloads. We recommend testing small workloads with Grid first in cost-savings mode. You can always transition to performance mode later if quicker startup times are desired for Grid features. Your AWS account needs to have the right permissions and quotas, in order for Grid to create clusters on your behalf. We'll cover both optional and required configurations as follows.
| Configuration | Recommendation |
|---|---|
| Auto Scaling groups per region | 800 |
| Launch configurations per region | 600 |
| EC2 Spot (instance family you are interested in) | 1000+ |
| EC2 On-demand (instance family you are interested in) | 1000+ |
Requesting Quotas
All AWS accounts have "service quotas". These are limits for the utilization of service provided by AWS. In order to increase your quotas, you have to request a quota increase to a specific service. That will open a ticket with AWS support. You may need to follow-up on the ticket in order for the quota to be granted.
You can request a quota by doing
- Login into your AWS console
- Search for "Service Quotas" and click on the result
- Click on the area of the service (e.g. "Amazon Elastic Compute Cloud (Amazon EC2)")
- Use the search filter to find the quota that you are looking for
- Make a quota request
Step 1: Get AWS credentials
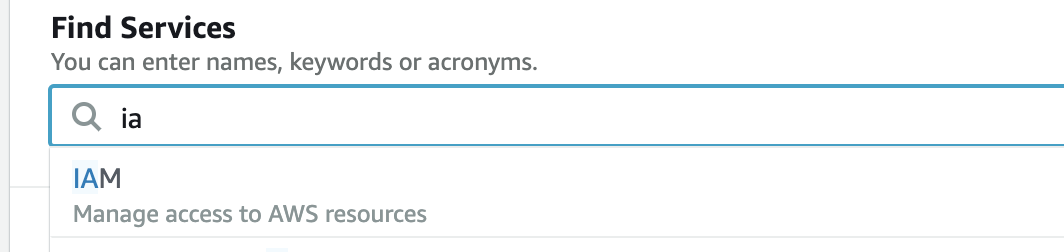
A: Login to AWS and search for IAM
Login into your AWS account. You will then use the search bar to find "IAM" (user management).
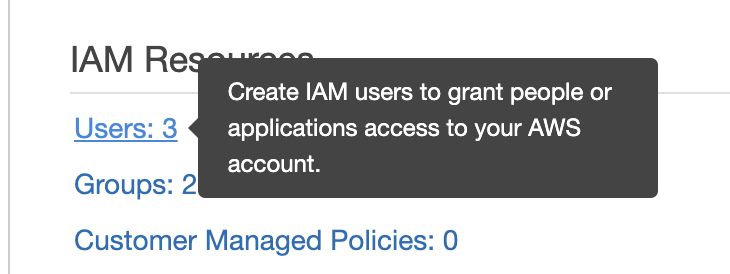
B: Click on "Users"
Click on the "Users" panel. You will be able to see a list of users. If you already have a user, click on your user name. If you don't, move to the next step to create a new user.
C: Create New User (optional)
If you don't have a user available and would like to create one, on the "Users" page click on "Add user". Fill in the username of preference and make sure to check "Programmatic access" (this allows you to use AWS keys).
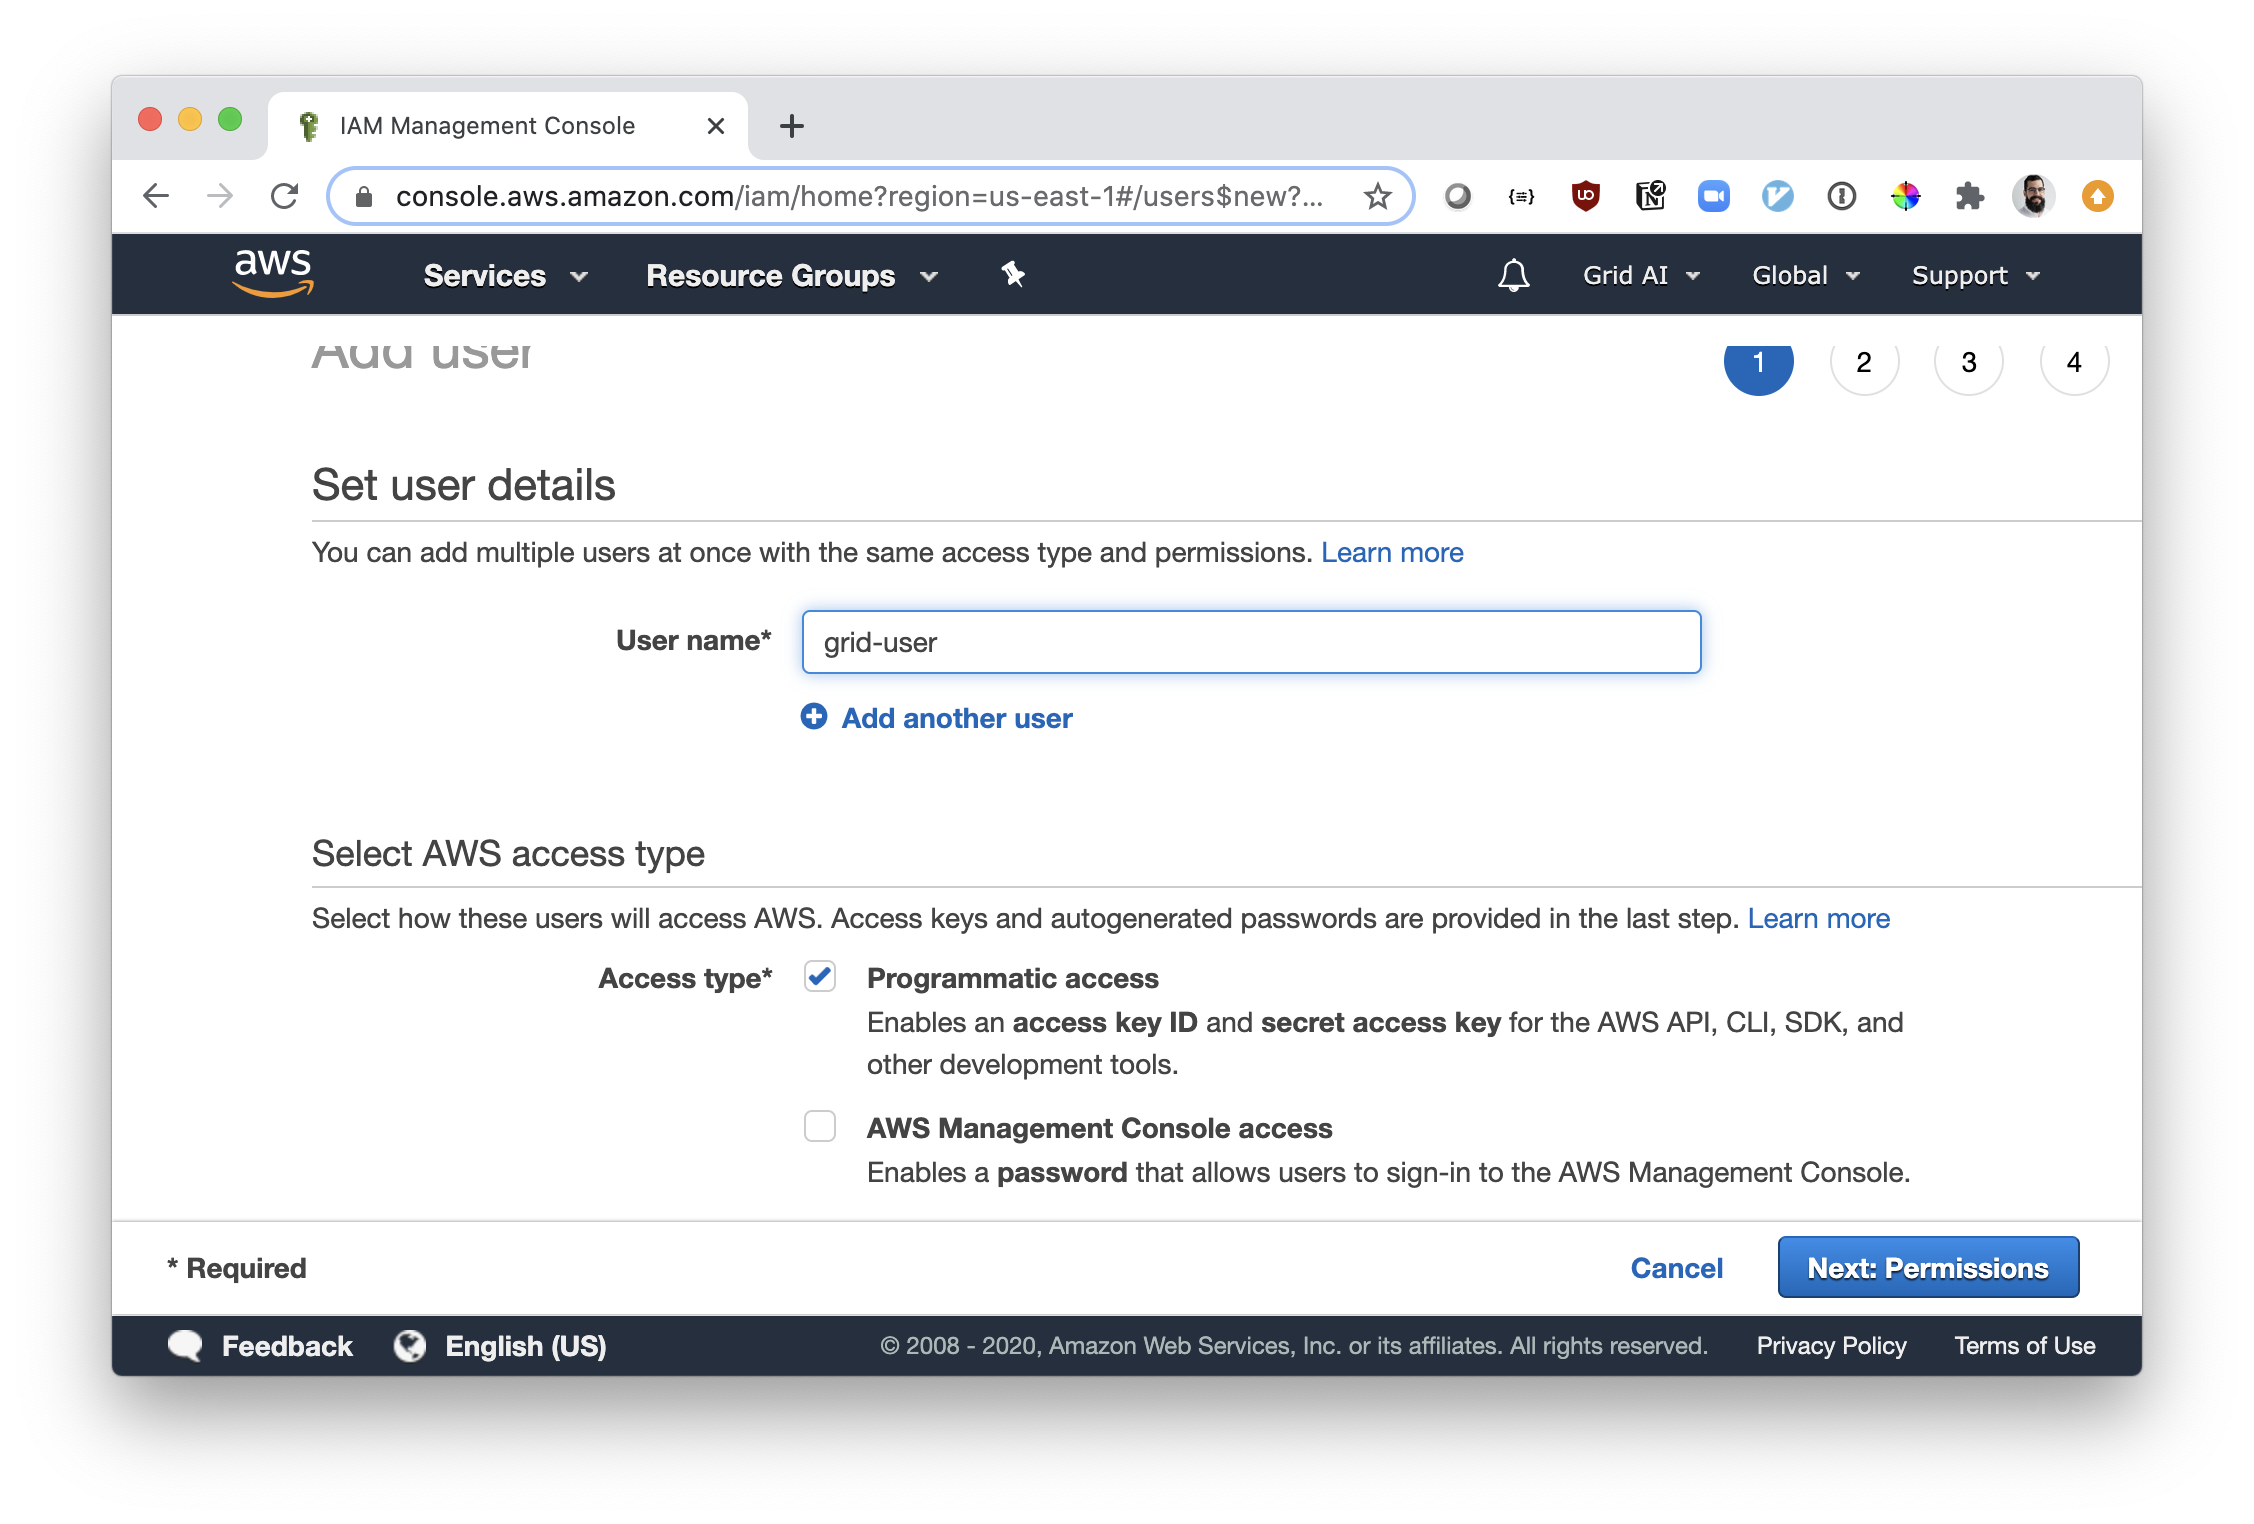
Click on "Next: Permissions" >
The user can be given AdministratorAccess priveleges as the user is only used to provision the AWS infrastructure needed by Grid. Grid will use a limited permission set for its operations.
Click on "Next: Tags" > "Next: Review" > "Create user".
D: Create New AWS Keys
- Navigate to the "Users" page
- Click on your user name
- Click on the tab "Security Credentials"
- Click on "Create access key"
- Copy both the "Access key ID" and the "Secret access key" values
note
The "Secret access key" value will only be shown once. Make sure you copy that value and store it in a safe location.
Make sure that your username has the right policies in order to use Grid correctly. Refer to the section Adding Grid AWS Policies & Roles for more details.
Step 2: Add IAM permissions to your account
The creataed user and fetched credentials should have AdministratorAccess privileges.
note
Add Policies to Your Account
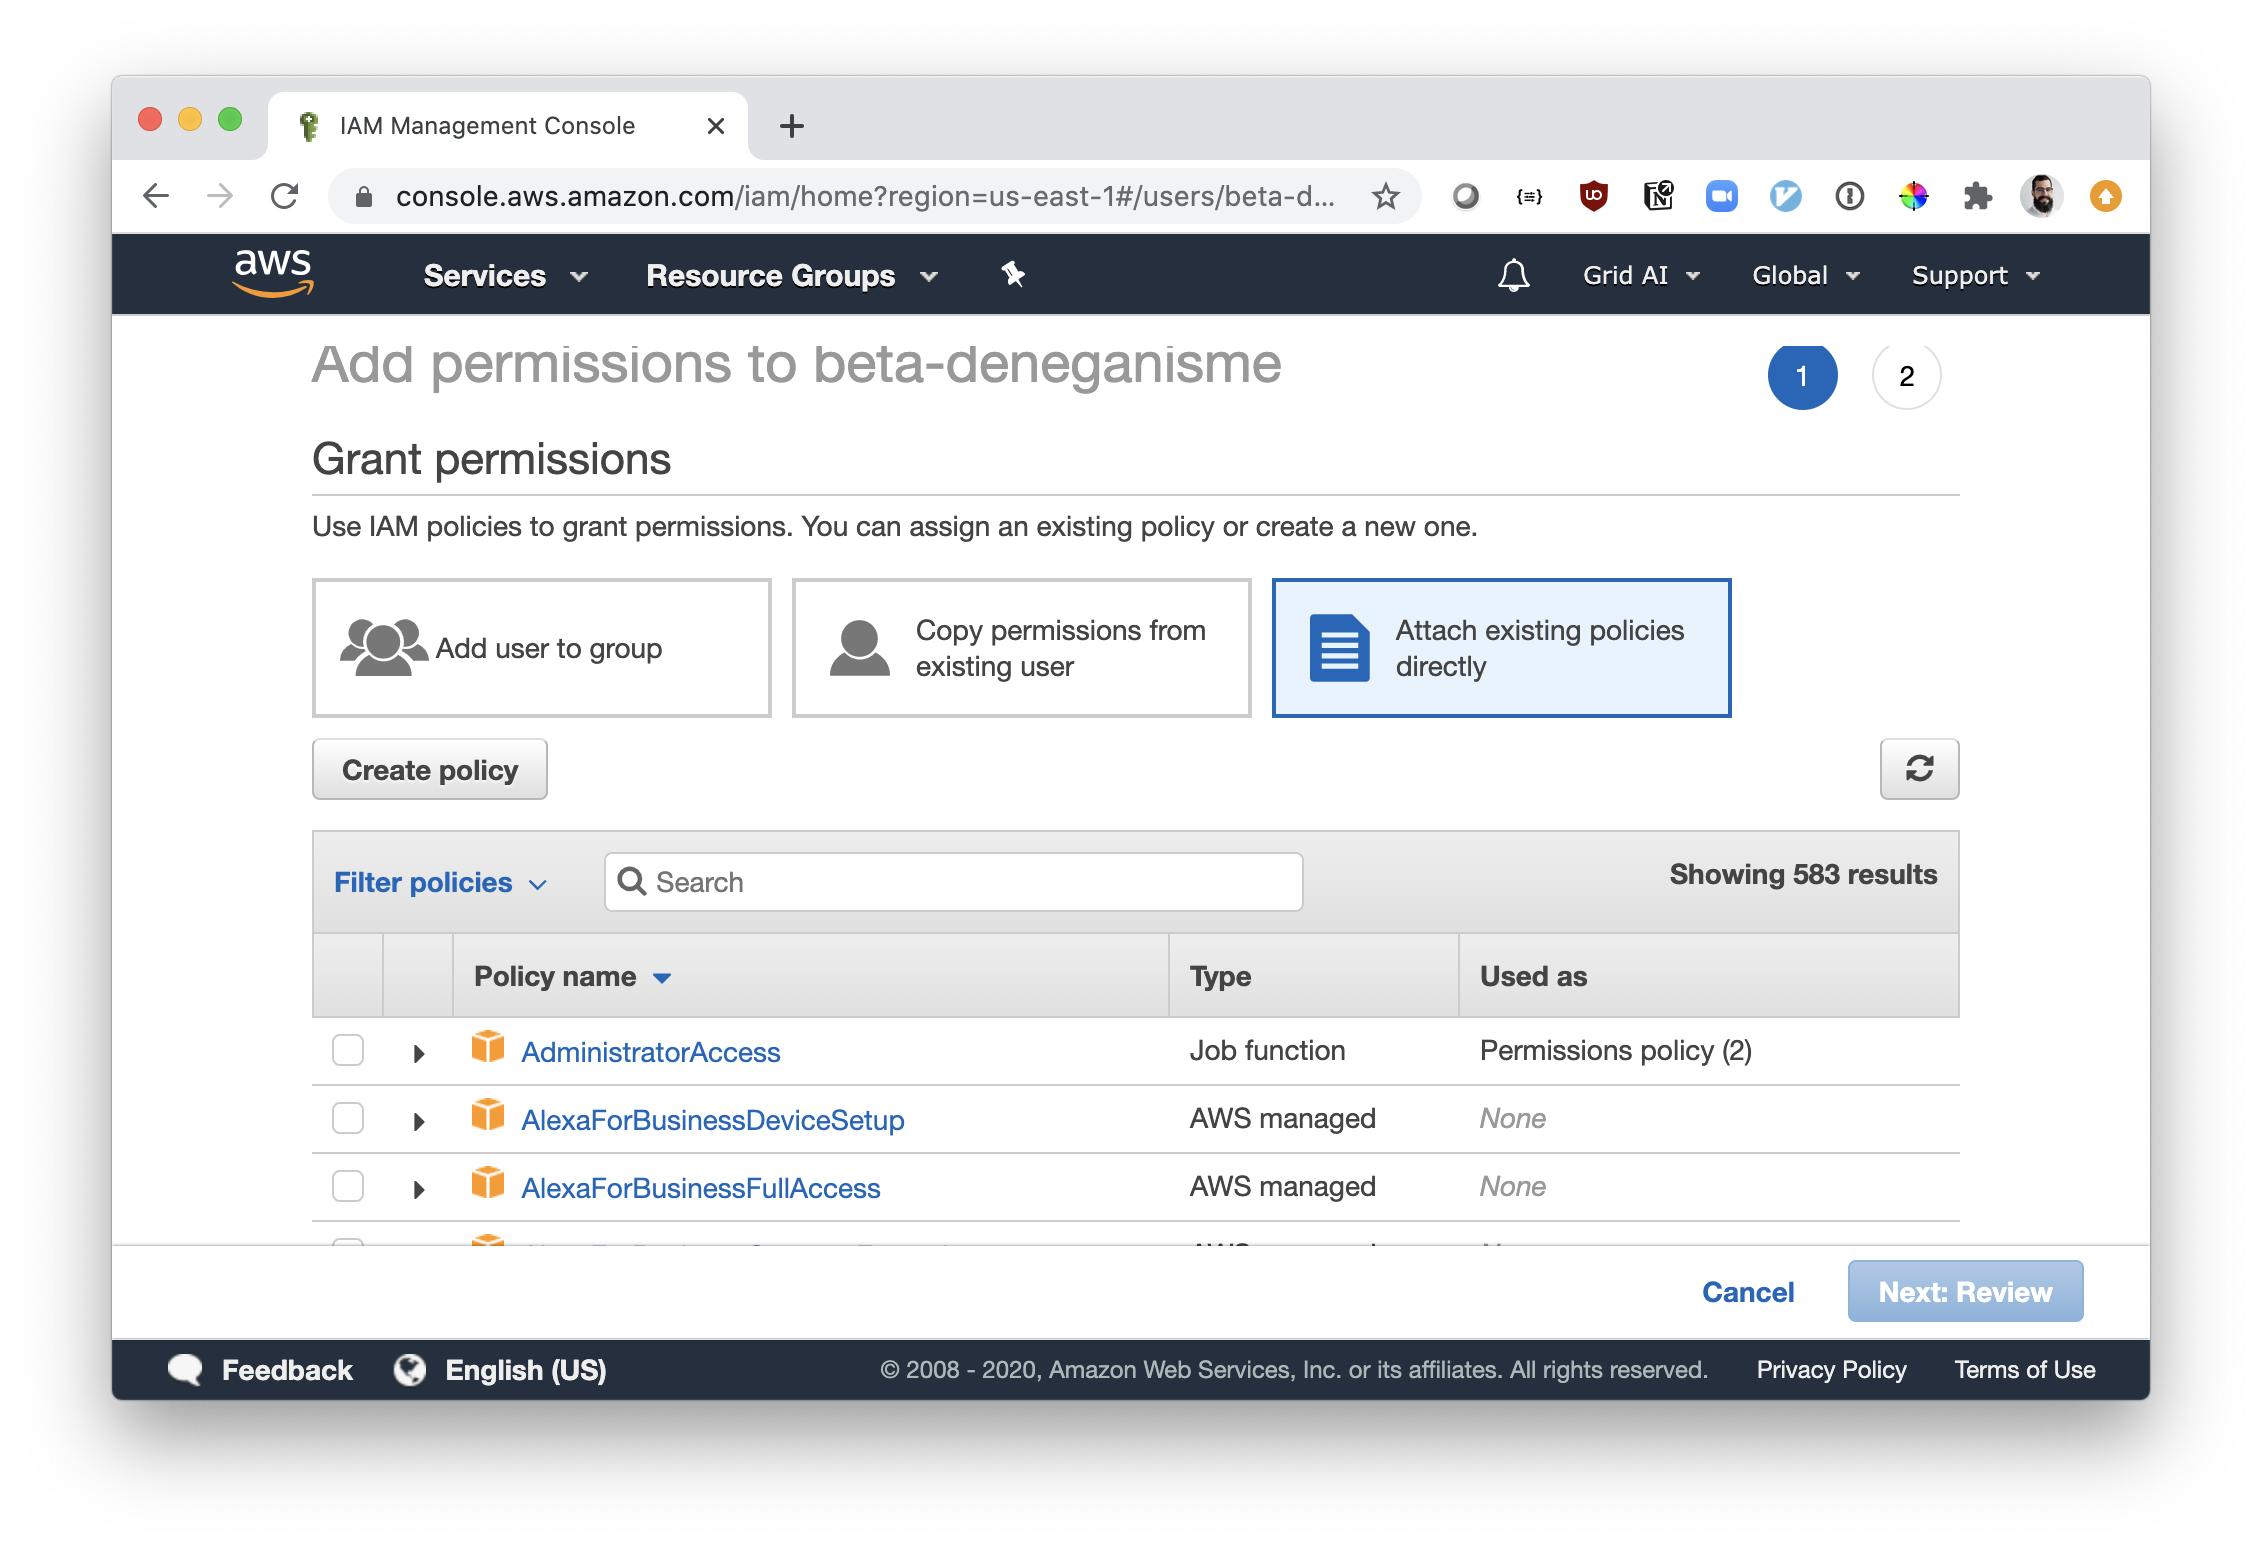
The final step is to add all the necessary permissions to your account to provision the necessary infrastructure. In self-managed BYOC infrastructure mode, you own your infrastructure provisioning.
- First, log in to AWS and navigate to IAM
- Click on "Users"
- On the user's page, find your user name and click on it
- Click on "Add permissions"
- Click on "Attach existing policies directly"
Step 3: Create Role & Policy grid requires
For the next step you're going to create the role we're going to assume into. For this you'll be using terraform. Make sure you have git, terraform, jq and AWS CLI installed on your machine. Installation instruction of these tools are available.
note
Self-managed BYOC Infrastructure Mode only gives Grid the following permissions:
* "eks:\*", # only for the cluster it creates
* "s3:\*", # only for the buckets it creates
Set Up
This version allows you to customize our terraform module to create your own BYOC infrastructure and set appropriate configurations for it via exposed variables Make sure your AWS CLI is properly configured with id & secret you created. These are not shared with Grid.
#Clone the repo
git clone https://github.com/gridai/terraform-aws-grid-byoc-full.git
cd terraform-aws-grid-byoc-full
unset AWS_ACCESS_KEY_ID
unset AWS_SECRET_ACCESS_KEY
unset AWS_SESSION_TOKEN
aws configure
# prompt and example entries below
AWS Access Key ID [None]: xxxxxxxxx
AWS Secret Access Key [None]: xxxxxxxxx
Default region name [None]:
Default output format [None]:
- Verify AWS Access Key
aws sts get-caller-identity
# example entries below should match the above steps
{
    "UserId": "xxxxxxxxx",
    "Account": "xxxxxxxxx",
    "Arn": "arn:aws:iam::xxxxxxxxx:user/xxxxxxxxx"
}
We advise performing the following steps before continuing deployment:
- Copy example.tfvars from terraform-aws-grid-byoc-full/example
- Update the cluster and hostname cluster_name. For example:It is recommended to run "grid clusters" and make sure that the cluster_name in the .tfvars file you are using does not match an existing name cluster name. Else you will receive an error.
  - cluster_name = "foo-01"
- hostname = "foo-01.doom.gridai.dev" - Set:
- role_arn = ""
- testing_cluster = false
- guard_duty_integration = false
- builder_ami_name_override = ""
- bastion_ami_override = ""
Run the Terraform script and enter the AWS Region when prompted. The region where the VPC is located is entered in a later step.
terraform init
terraform apply -var-file <your modified version of example.tfvars>
Copy the output from the last command. The following code snippets may help you copy the output to your clipboard:
Linux
terraform output -json | jq -r '.gridv1_cluster.value' | tee /dev/stderr |xsel -ib
Mac:
terraform output -json | jq -r '.gridv1_cluster.value' | tee /dev/stderr | pbcopy
Alternatively, if those commands do not work, you can manually copy the output by running the below command. By default terraform hides the sensitive secret output.
terraform output -json | jq -r '.gridv1_cluster.value'
Step 4: Register your role in grid
By default, Grid Sessions and Runs are spun up in Availability Zone a. Only specify the AWS region and not the AZ in the --region argument.
- Login to Grid. Please reference the detailed steps as required.
pip install lightning_grid --upgrade
grid login --username <Grid user name> --key <Grid API Key>
- Create cluster in default region with default instance types.
- Cluster name must be lower case alphanumeric characters, '-' or '.' is allowed but not '_', and must start and end with an alphanumeric character
grid clusters aws <name> --role-arn <doesn't matter> --external-id <doesn't matter> --edit-before-creation
In edit, paste the terraform output field you've just copied.
Step 5: Wait for cluster to be provisioned
After submitting the cluster creation request, you can check the cluster state by running:
grid clusters
And wait for your cluster status be running:
┏━━━━━━━━━━━━━━━━━━━━┳━━━━━━━━━━━━━━━━━━━━┳━━━━━━━━━━━━┳━━━━━━━━━┳━━━━━━━━━━━━━━━┓
┃ id                 ┃ name               ┃ type       ┃ status  ┃ created       ┃
┡━━━━━━━━━━━━━━━━━━━━╇━━━━━━━━━━━━━━━━━━━━╇━━━━━━━━━━━━╇━━━━━━━━━╇━━━━━━━━━━━━━━━┩
│ grid-cloud-prod    │ grid-prod-cloud    │ grid-cloud │ running │ 2 days ago    │
│ <cluster name>     │ <cluster name>     │ byoc       │ running │ a hour ago    │
└────────────────────┴────────────────────┴────────────┴─────────┴───────────────┘
It can take some time to provision a new cluster, ~20-30 minutes. Optionally, you can use --wait flag on the cluster creation step, and grid CLI will wait until the cluster is running.
Step 6: Run your workloads in your new cluster
At this point you can update your cluster context so Grid runs commands against your new BYOC cluster by default. To do so run the following command:
grid user set-cluster-context <cluster-name>
Now you can run workloads against your cluster as you normally would against the Grid cloud.
grid run --cluster <cluster name>
grid session create --cluster <cluster name>
Or if you're using config file set the .compute.provider.cluster field to the cluster name you've just provisioned
Step 7: Enjoy!
Your cluster will be available for use on Grid, so use it (or any other cluster) as you wish.
Editing and Deleting Clusters
Use grid edit to see instance types available and update as necessary.
grid edit cluster <cluster name>
Use grid delete to delete cluster. The deletion will take ~10-20 minutes. The flag --wait is also available here, in the case of using, grid CLI will wait until the cluster is deleted. Deleting a cluster will delete the resources created by Grid. In Self-Managed BYOC mode this will be the S3 buckets and EKS resources created by Grid. Use with care!
note
Grid attempts to delete all cluster resources when a delete operation is initiated. However, sometimes there are dangling resources left behind. Make sure to inspect your account for dangling resources and delete them manually if that is the case. Reach out to support if you have any issues -- we are happy to help!
grid delete cluster <cluster name>
Next use terraform to delete the AWS resources you created as part of the install process.
terraform destroy -var-file <your modified version of example.tfvars>